
THE MOST IMPORTANT KNOTS TO KNOW FOR SAILORS AND BOATERS

Hang around boats for long enough and you’ll soon realise you need to know a few knots. Please don’t believe anyone who tells you, “If you can’t tie knots, tie lots.” It’s a good theory until you have to cut the knot free, and rope is surprisingly expensive!
You also shouldn’t be intimidated by show-offs who insist you need to know thousands of complex tangles, so here is some basics knots to practice.
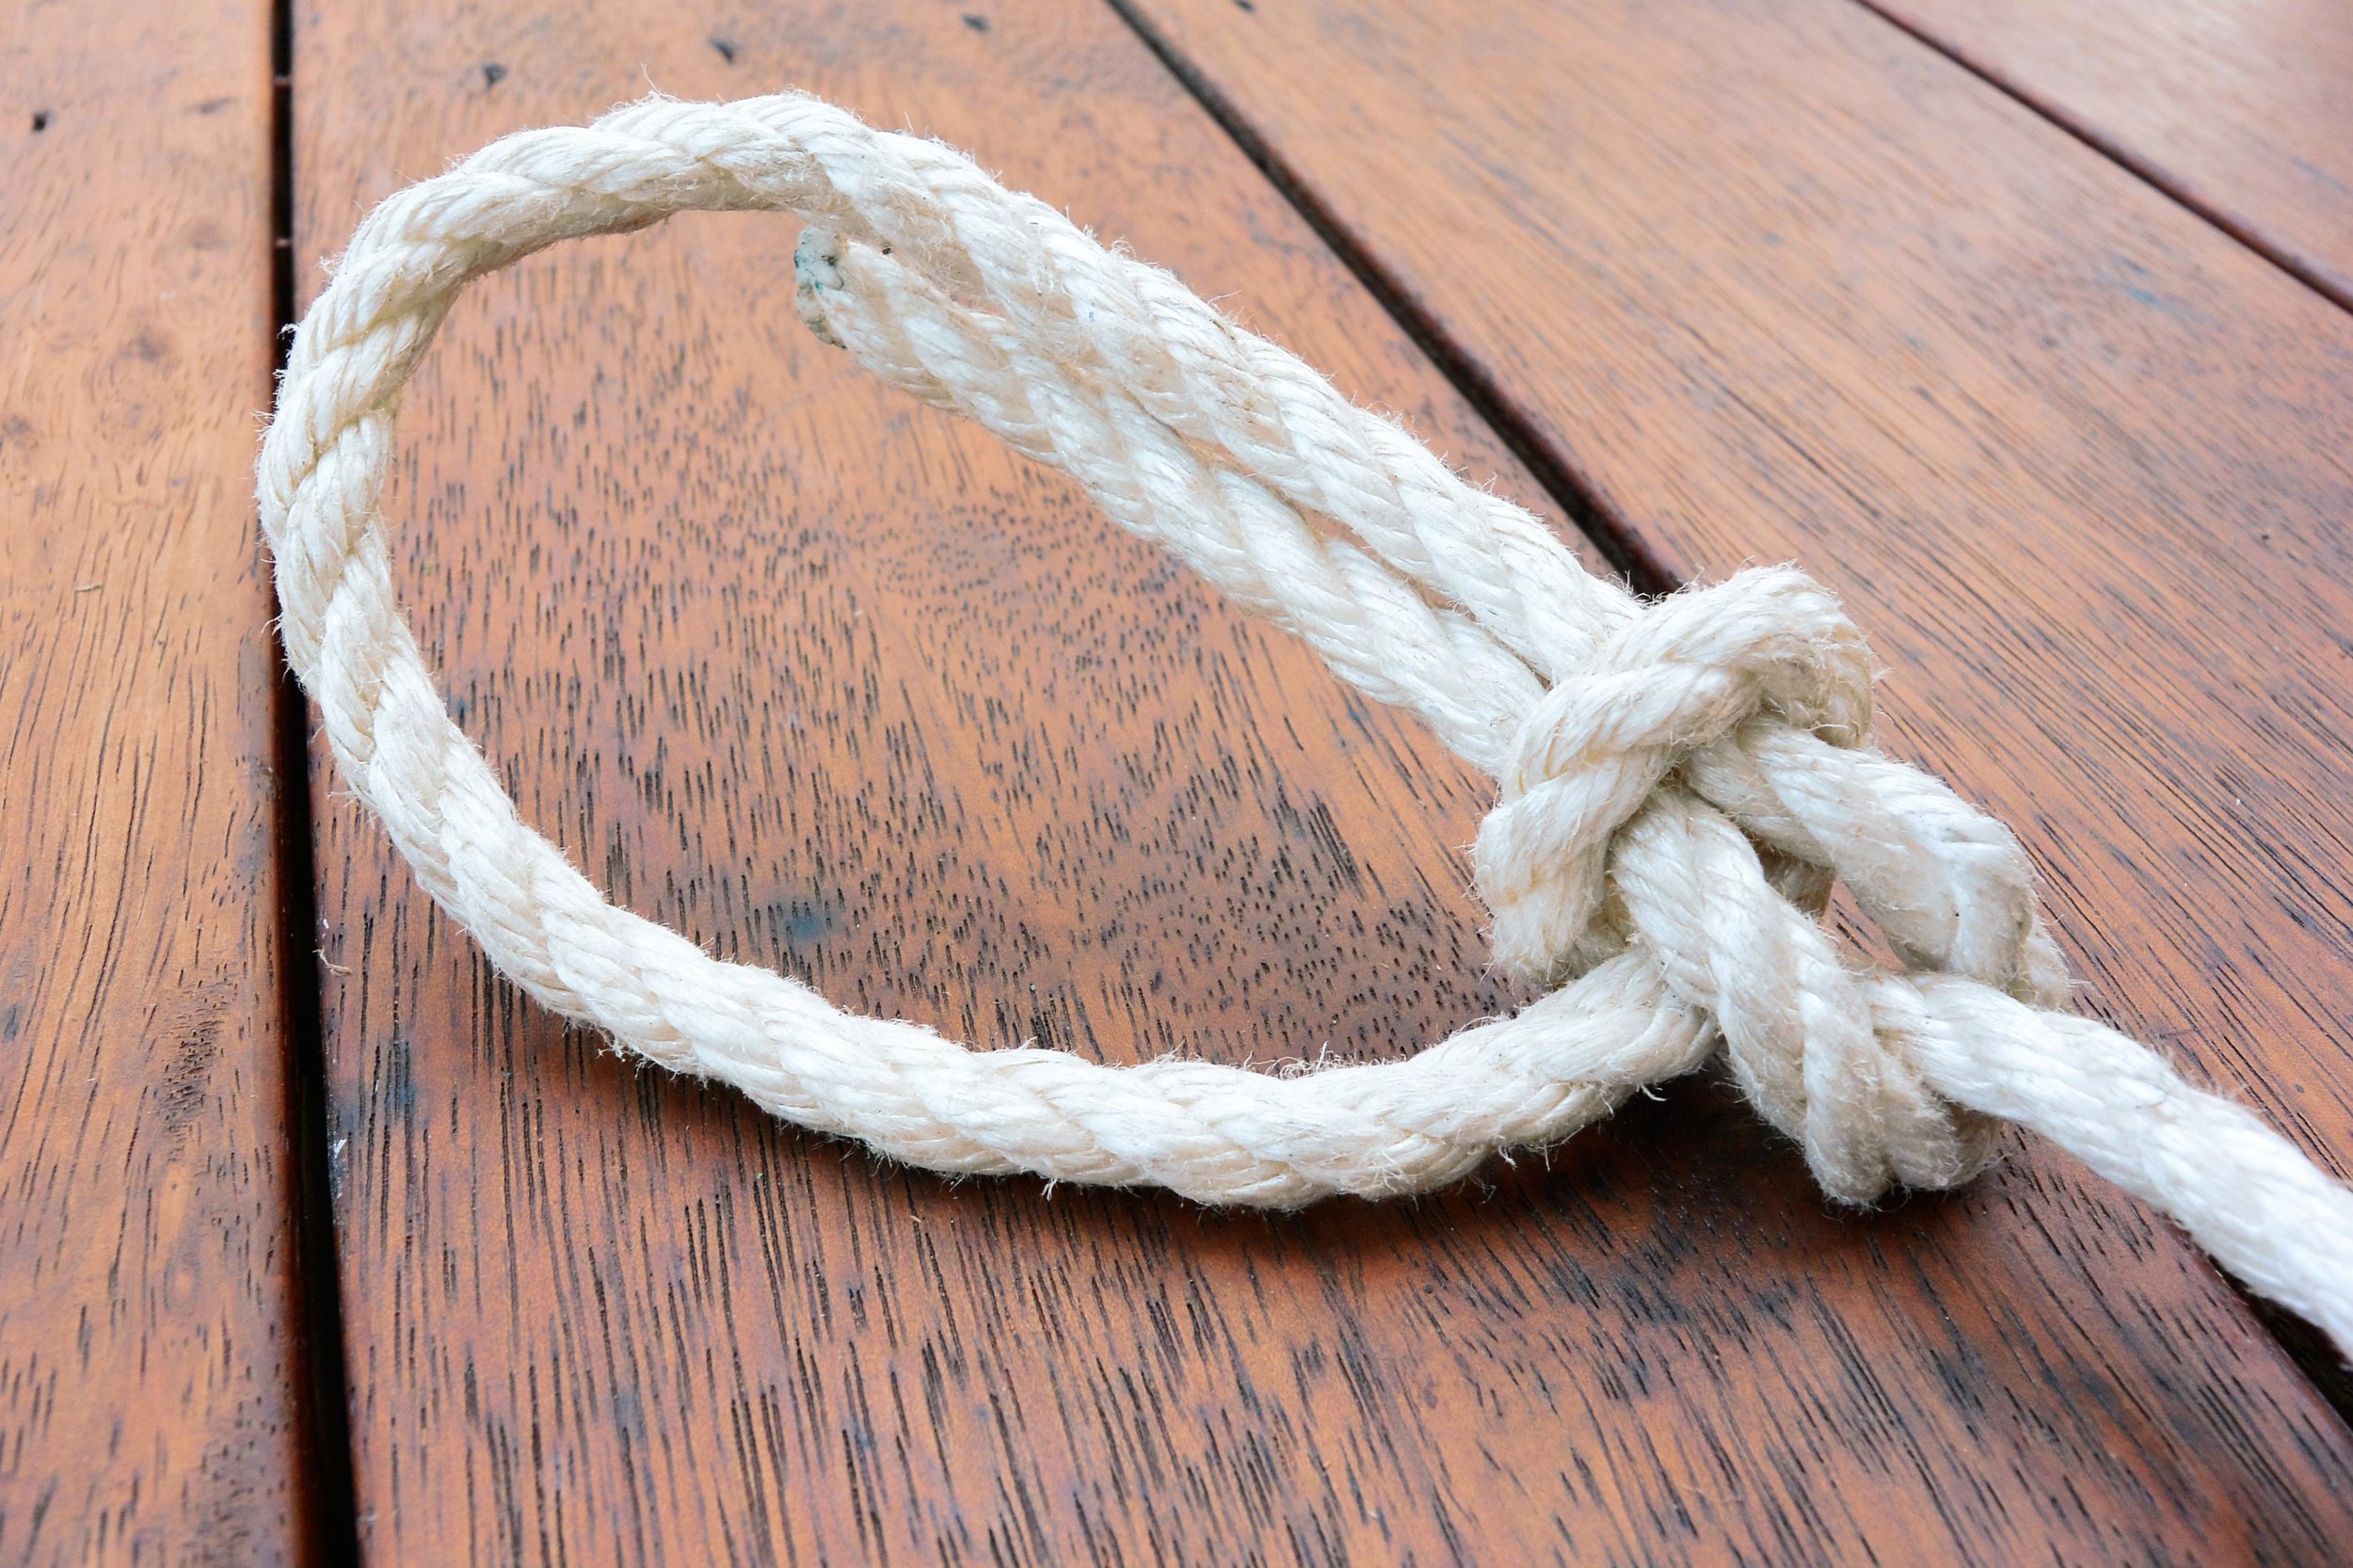
BOWLINE
Possibly the most important knot for boaties and sailors to know, the bowline creates a loop that you can completely rely on, but also one that you can “break” or untie after great pressure has been applied.
To tie a bowline, take the end of a rope with the tip in your right hand and the longer end in your left. Think of the tip as a rabbit and the longer end as a tree. Twist a small loop or “rabbit hole” in the tree, close to the left hand. The rabbit end needs to lie on the top of the loop. Then pass the rabbit up through the loop, under and behind the tree, then back down the rabbit hole before pulling tight.
Once you’ve mastered the bowline, see if you can teach yourself to tie it singlehandedly and around yourself. If you ever have the misfortune of falling overboard, being able to tie a line securely around yourself could be a lifesaver.
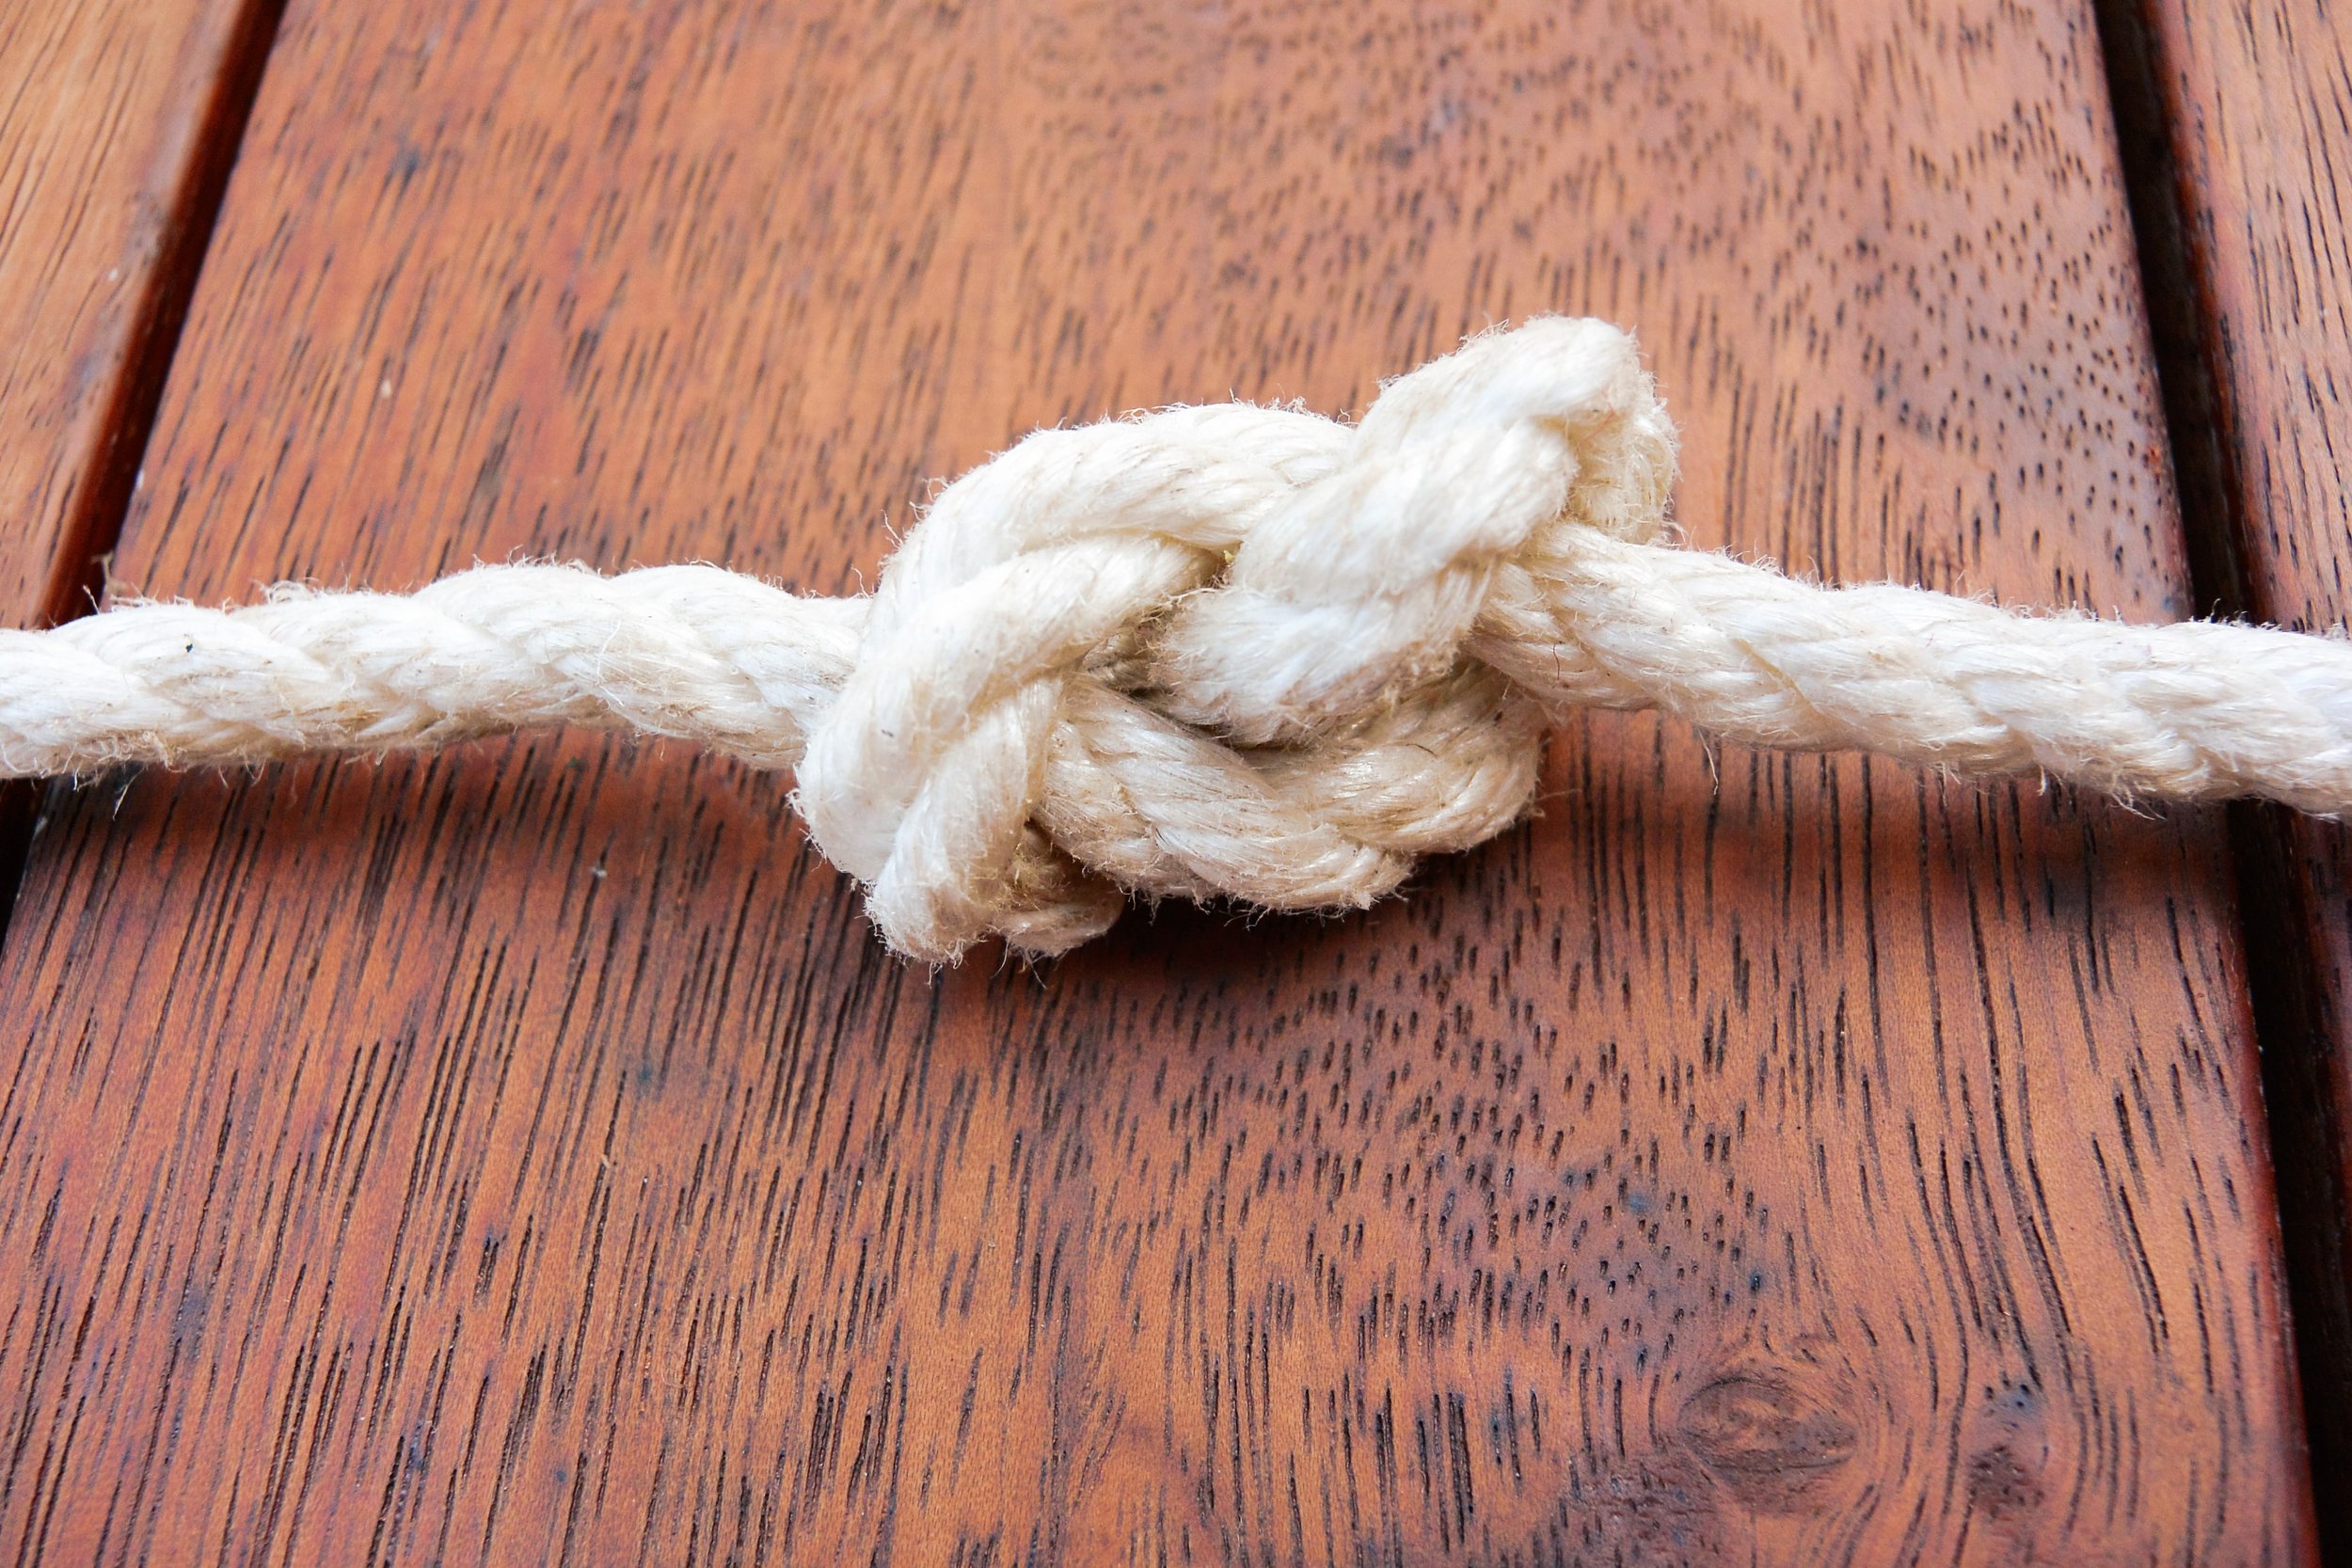
FIGURE OF EIGHT
The figure of eight is a basic stopper knot that is commonly used on the tail of lines and sheets. You simply take the end of the rope and pass it fully around the long end and back through the loop before tightening.
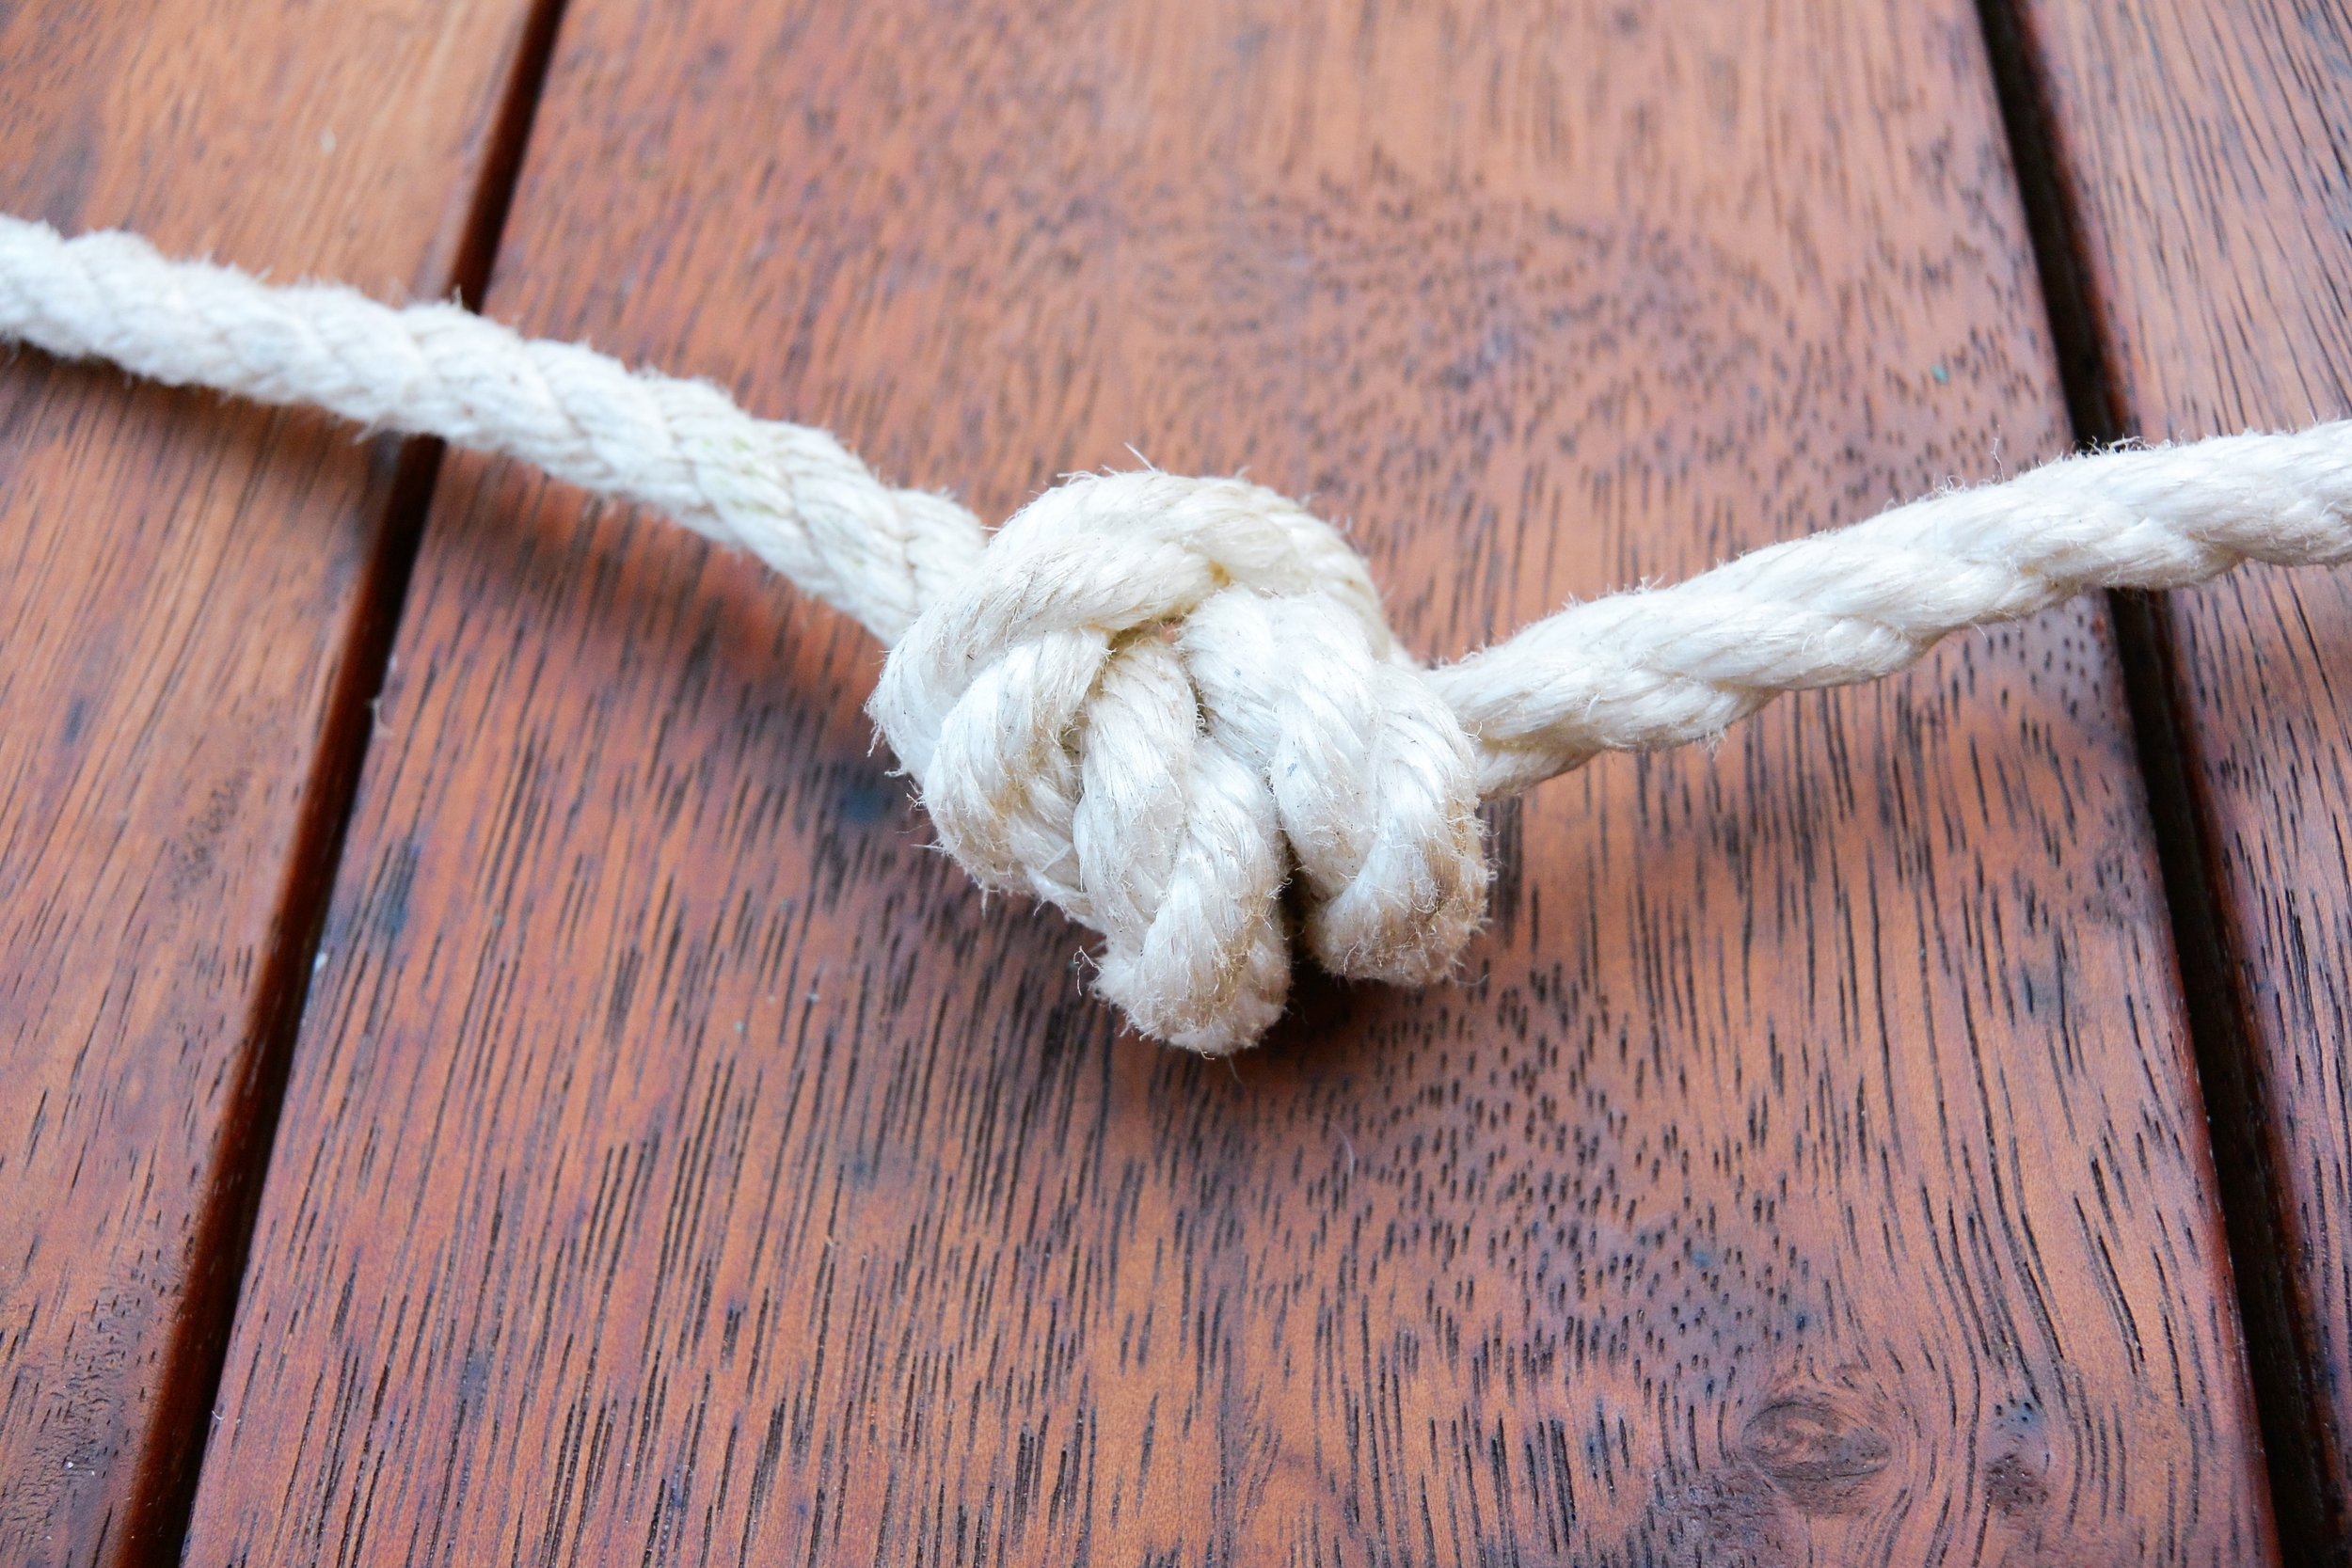
DOUBLE OVERHAND
Although it is a great basic knot, the figure of eight isn’t as reliable as the double overhand knot. I’d recommend this knot when the stakes are raised. While the figure of eight might slip undone, this one’s a sure bet. To tie, twist the end of the line twice around your fingers and then pass the end though the loops from the direction of the long end towards the line’s end.

CLOVE HITCH
The clove hitch is a simple little knot that you’ll use all the time for securing fenders and other similar tasks. Pass the end over the lifeline with the end in your right hand and the long end in your left. Then pass the end over the lifeline again, this time on the left side, and tuck through the loop to finish. You can rely on this knot, but if you like a little extra security then just add an extra hitch.
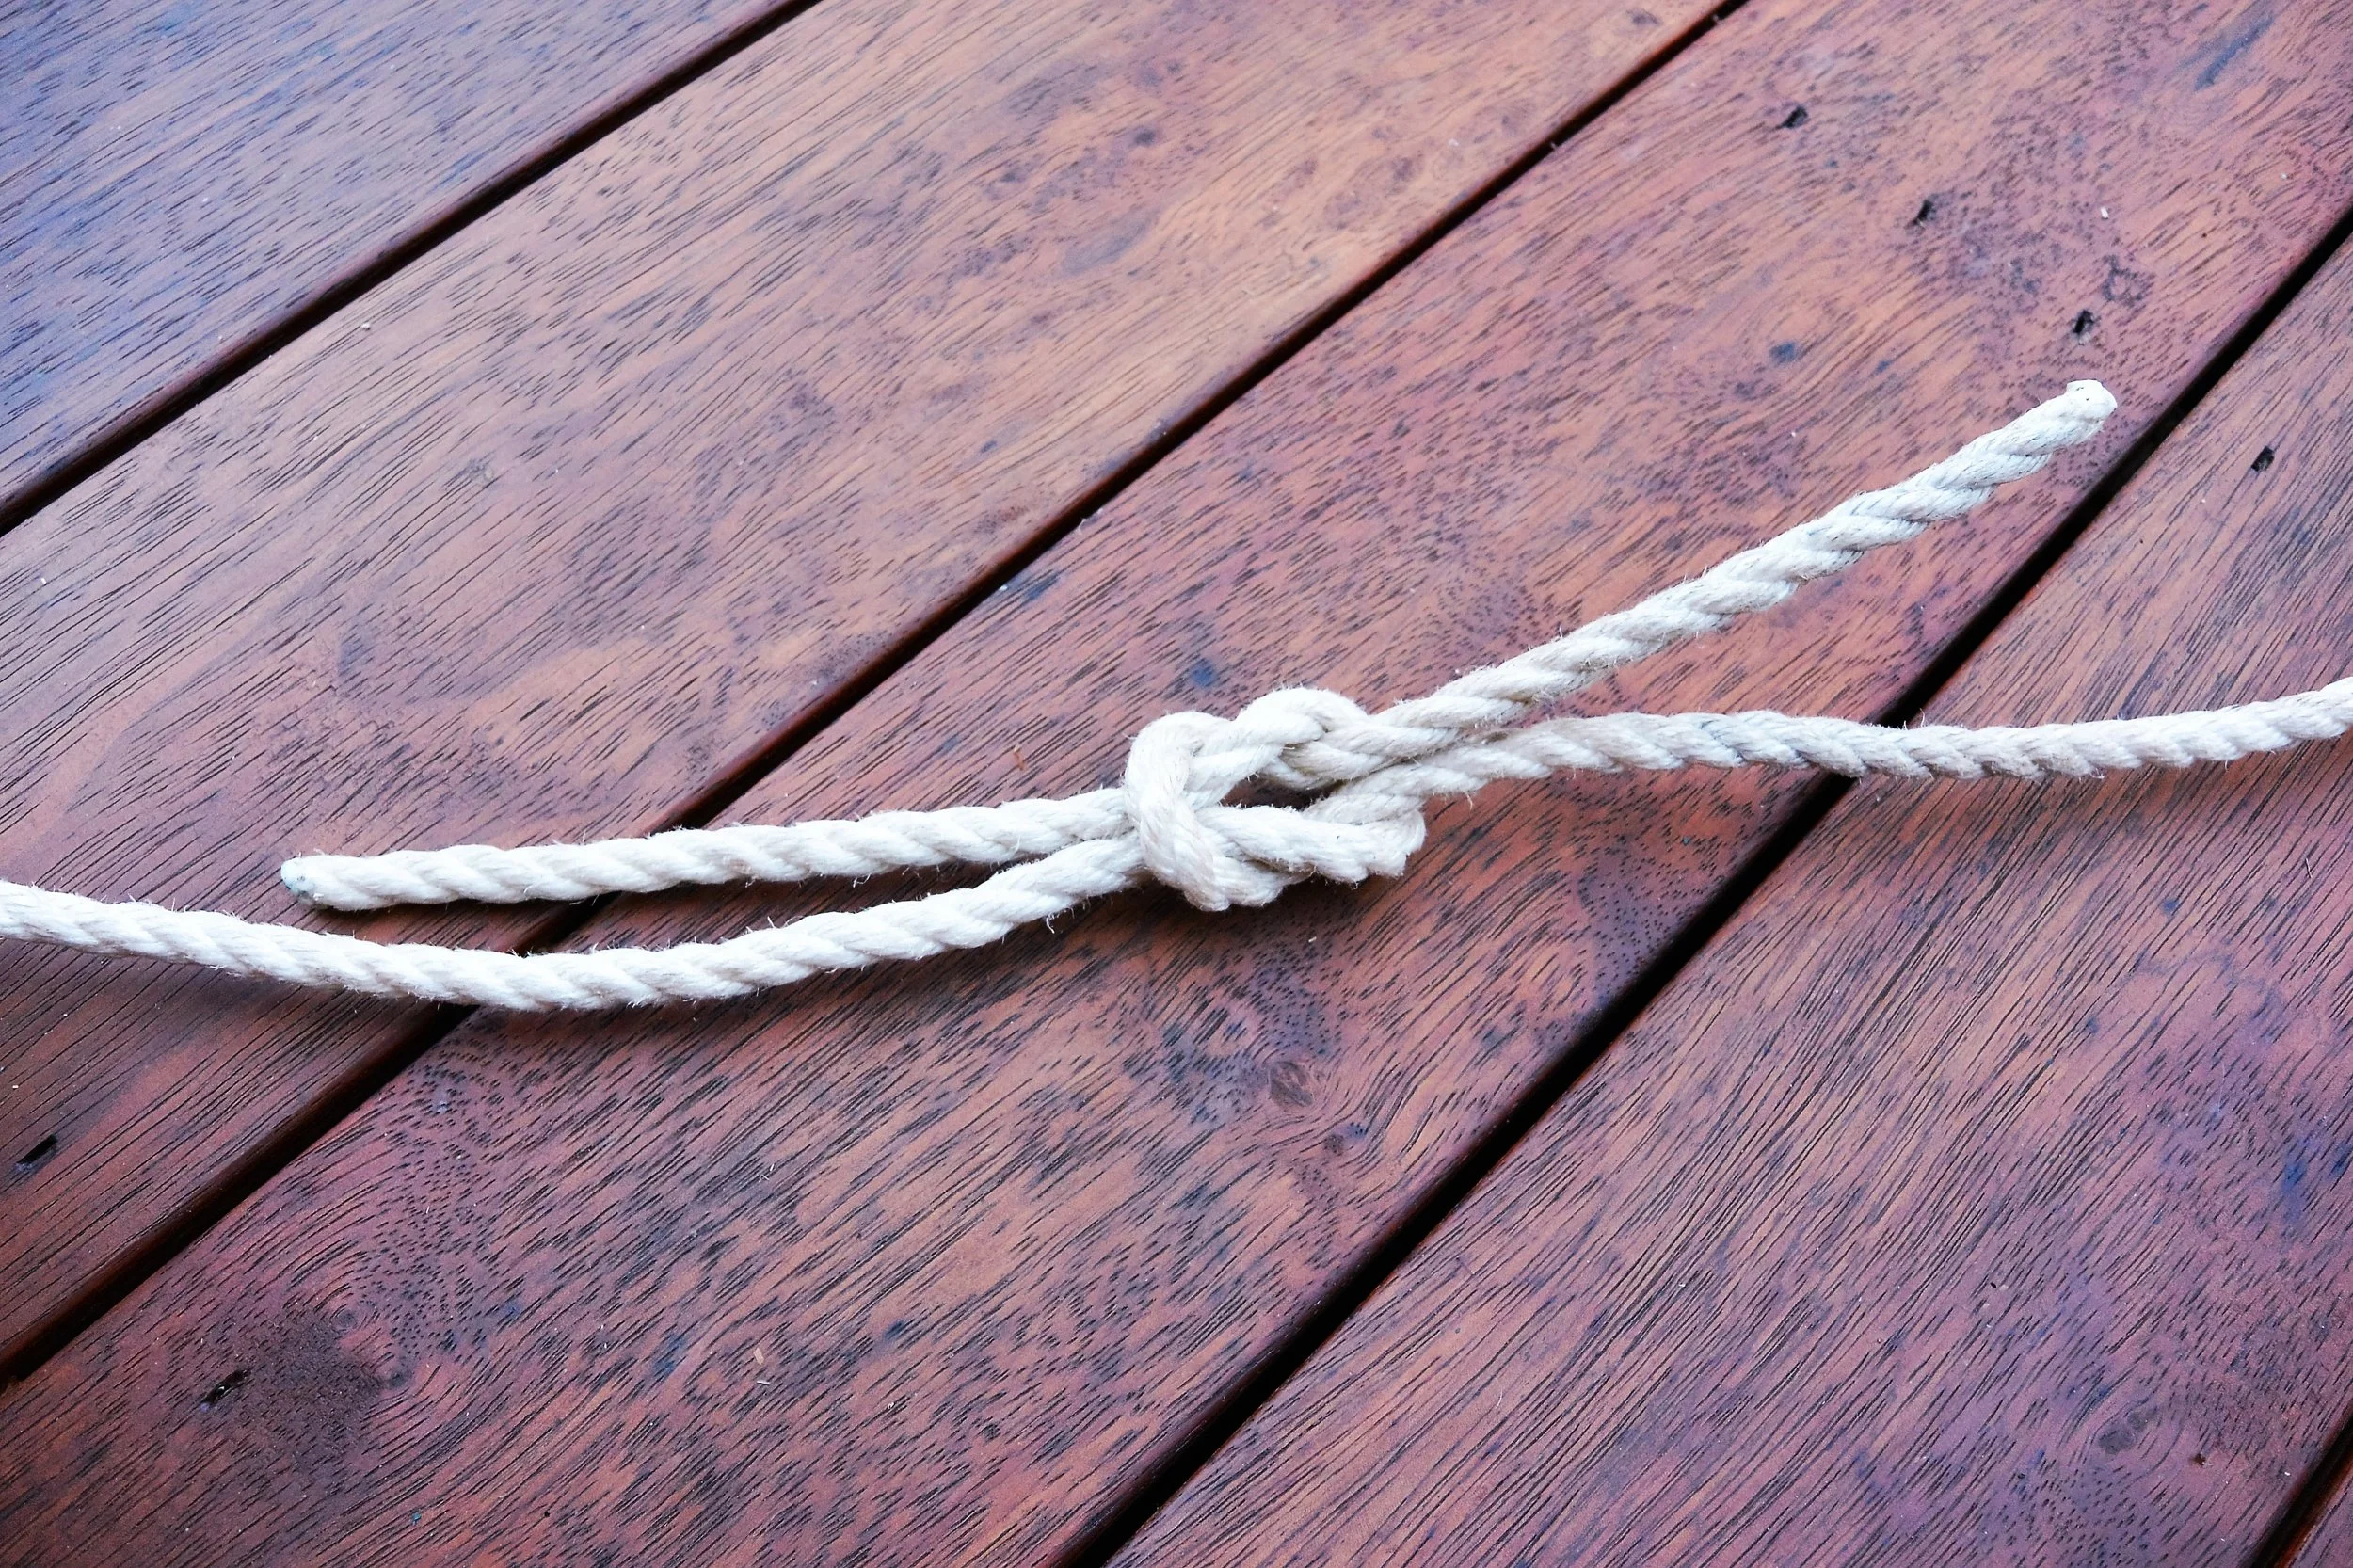
REEF KNOT
Finally, there is the knot that is used to tie two lines securely together. Take an end in each hand, twist together like the first step of tying your shoelaces, then repeat but twisting in the opposite direction. You’ll know when you’ve got it as the knot will be neat and symmetrical.
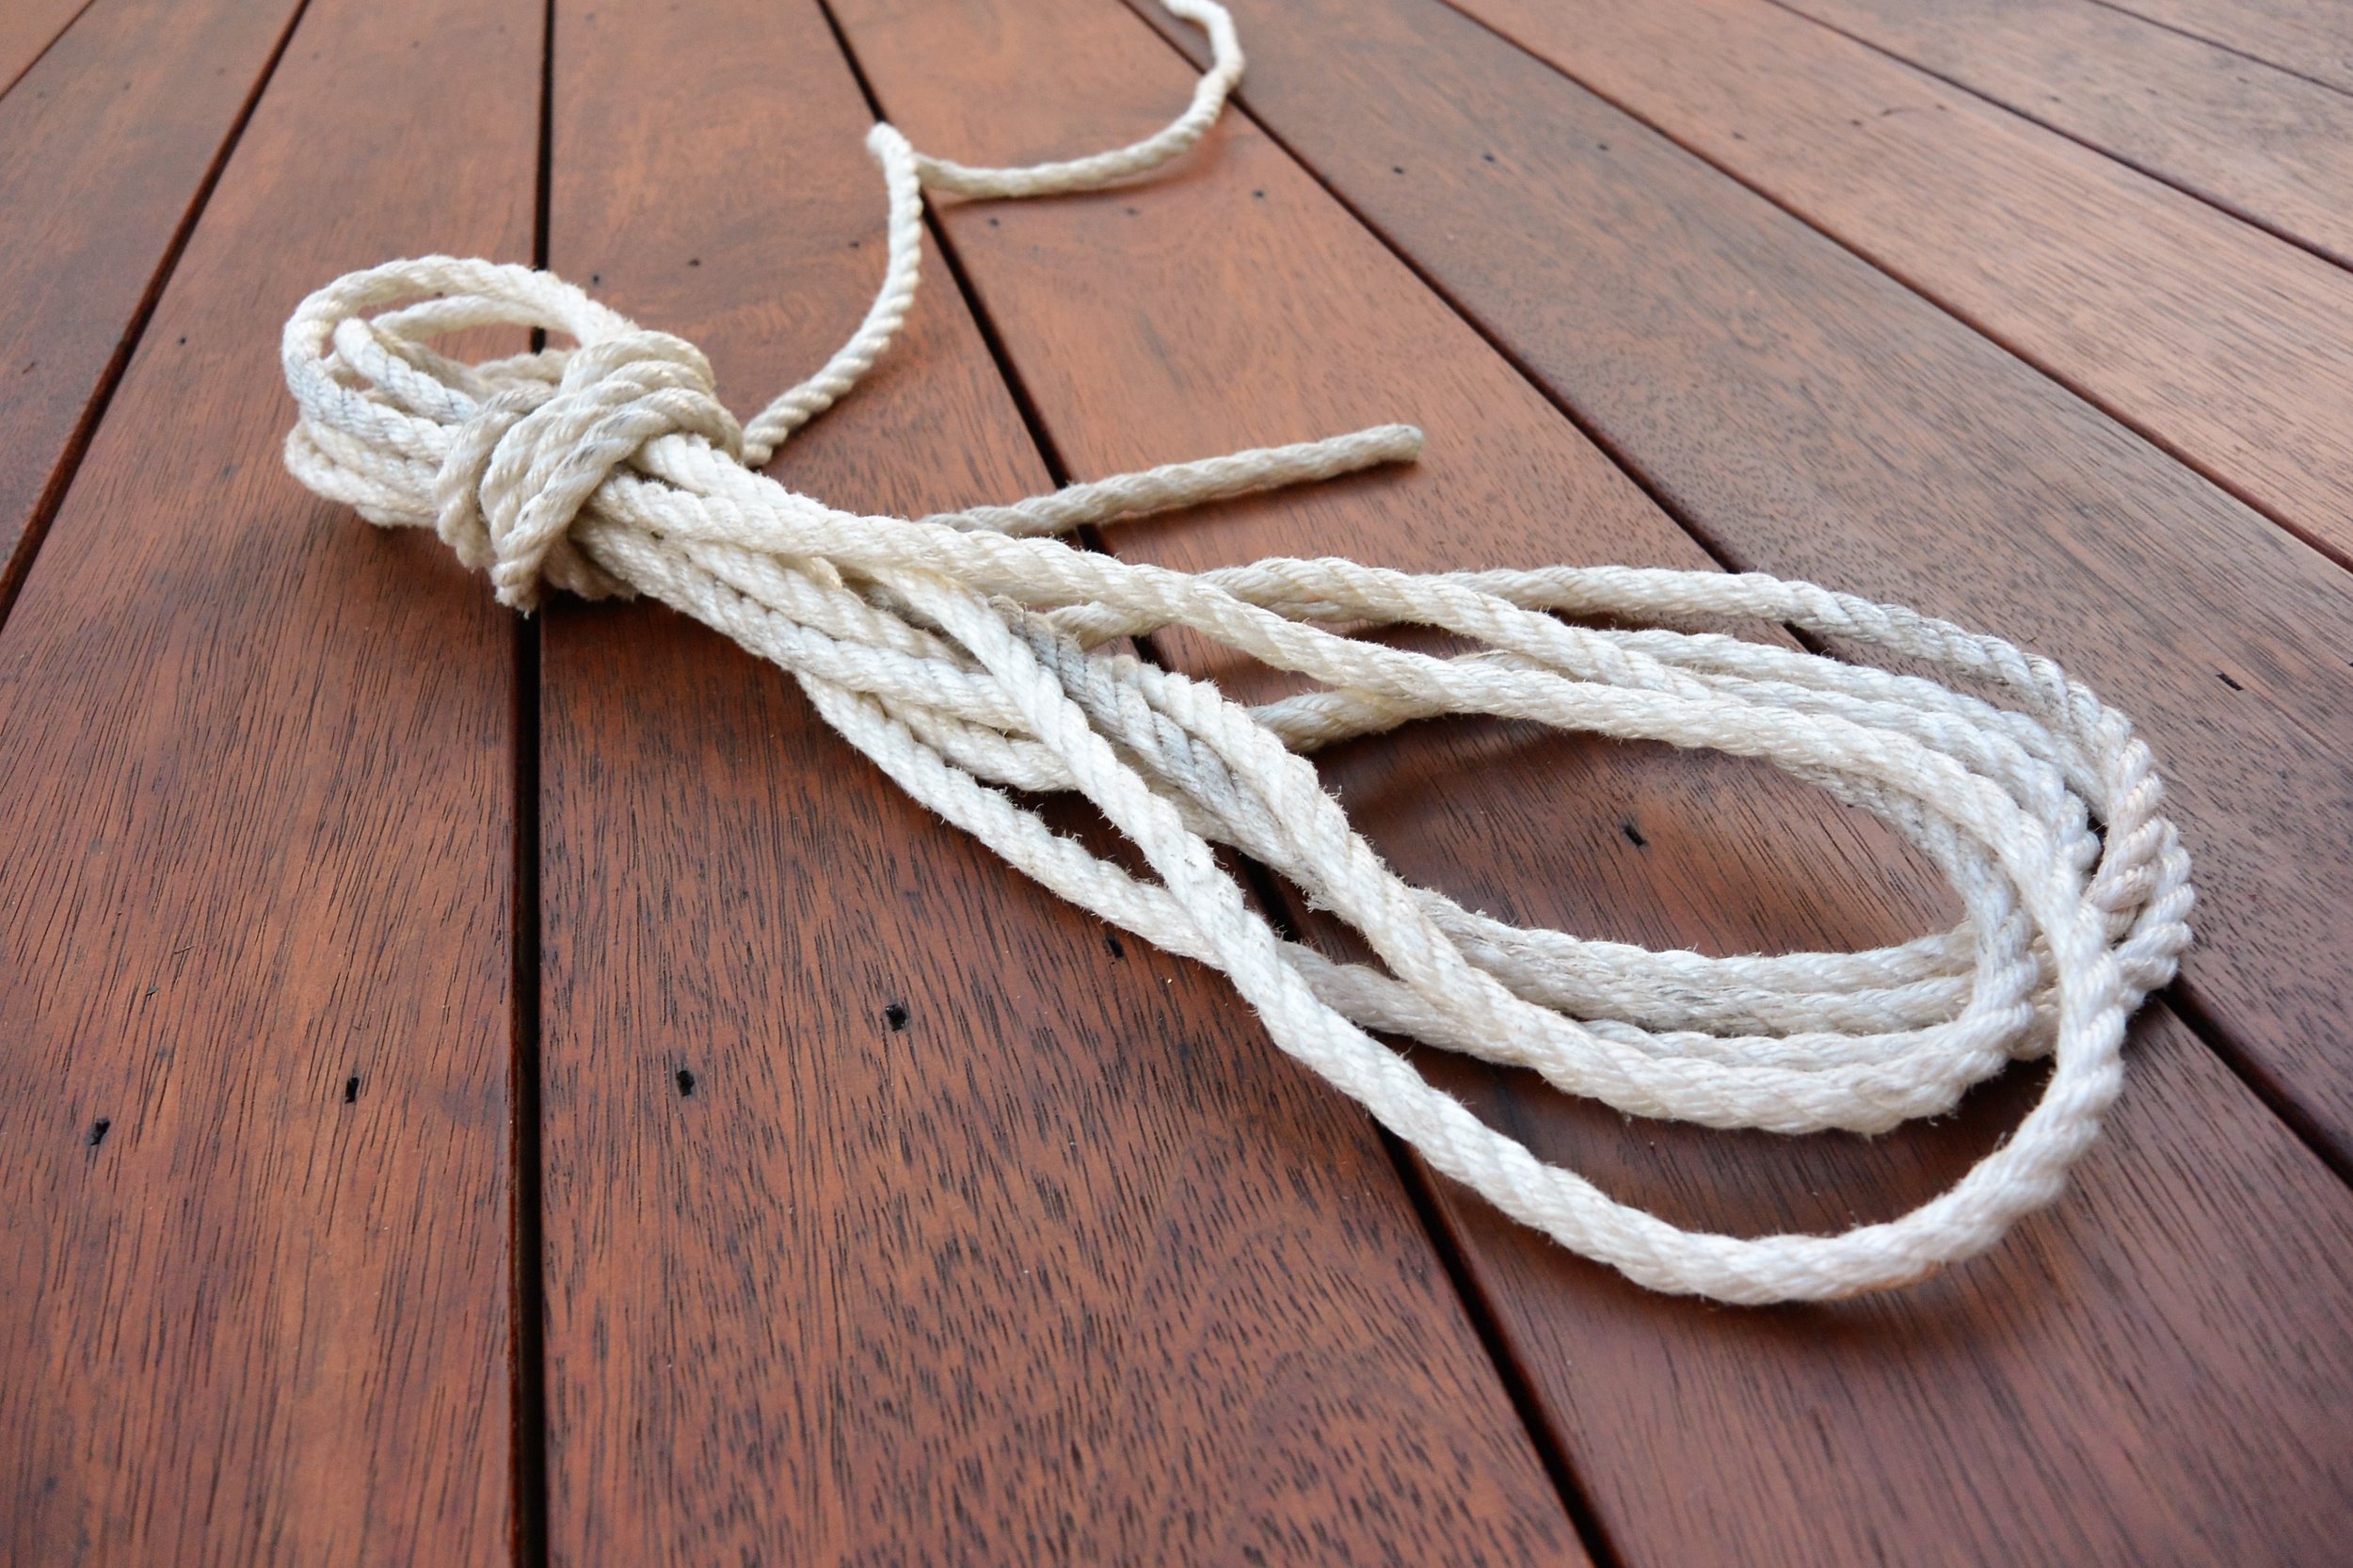
COILING A LINE
If you grew up camping, you may have learnt to secure your lines a little differently. However, on the water, this is the way it should be done to allow fast access and avoid tangles and twists.
The line should be coiled from the free end (assuming that the line remains connected, if not any end will do) then secured by wrapping the connected end around the coil a few times before passing a loop through the top of the coil and sliding over the top and pulling tight. Lines should be coiled using a figure of eight motion to avoid twisting the line.
You’ll need to practice these using a piece of rope, and I’d recommend checking your smartphone’s app store for a range of apps that will provide further explanation for those needing a little more help.